
Frame plan
If you’ve followed along, you know that until now I wasn’t sure how to create the frame and if to DIY it at all.
On one hand, I really like to make as much as possible myself and to have something very custom (e.g. Chris Riley’s “LOG”), while on the other side the goal of this build is also to have a good, sturdy machine that delivers nice looking results and to get it running quickly.
Also, cutting the Multiplex by jigsaw wasn’t an option for me (inaccuracy) and CNC / laser cutting isn’t that “DIY” anymore either, so…..
You might call all of this “excuses”, but I ended up ordering a frame kit from AliExpress!
One other upside besides not having to actually build it myself and having more accurate tolerances on screw holes etc. and of course the more original look:
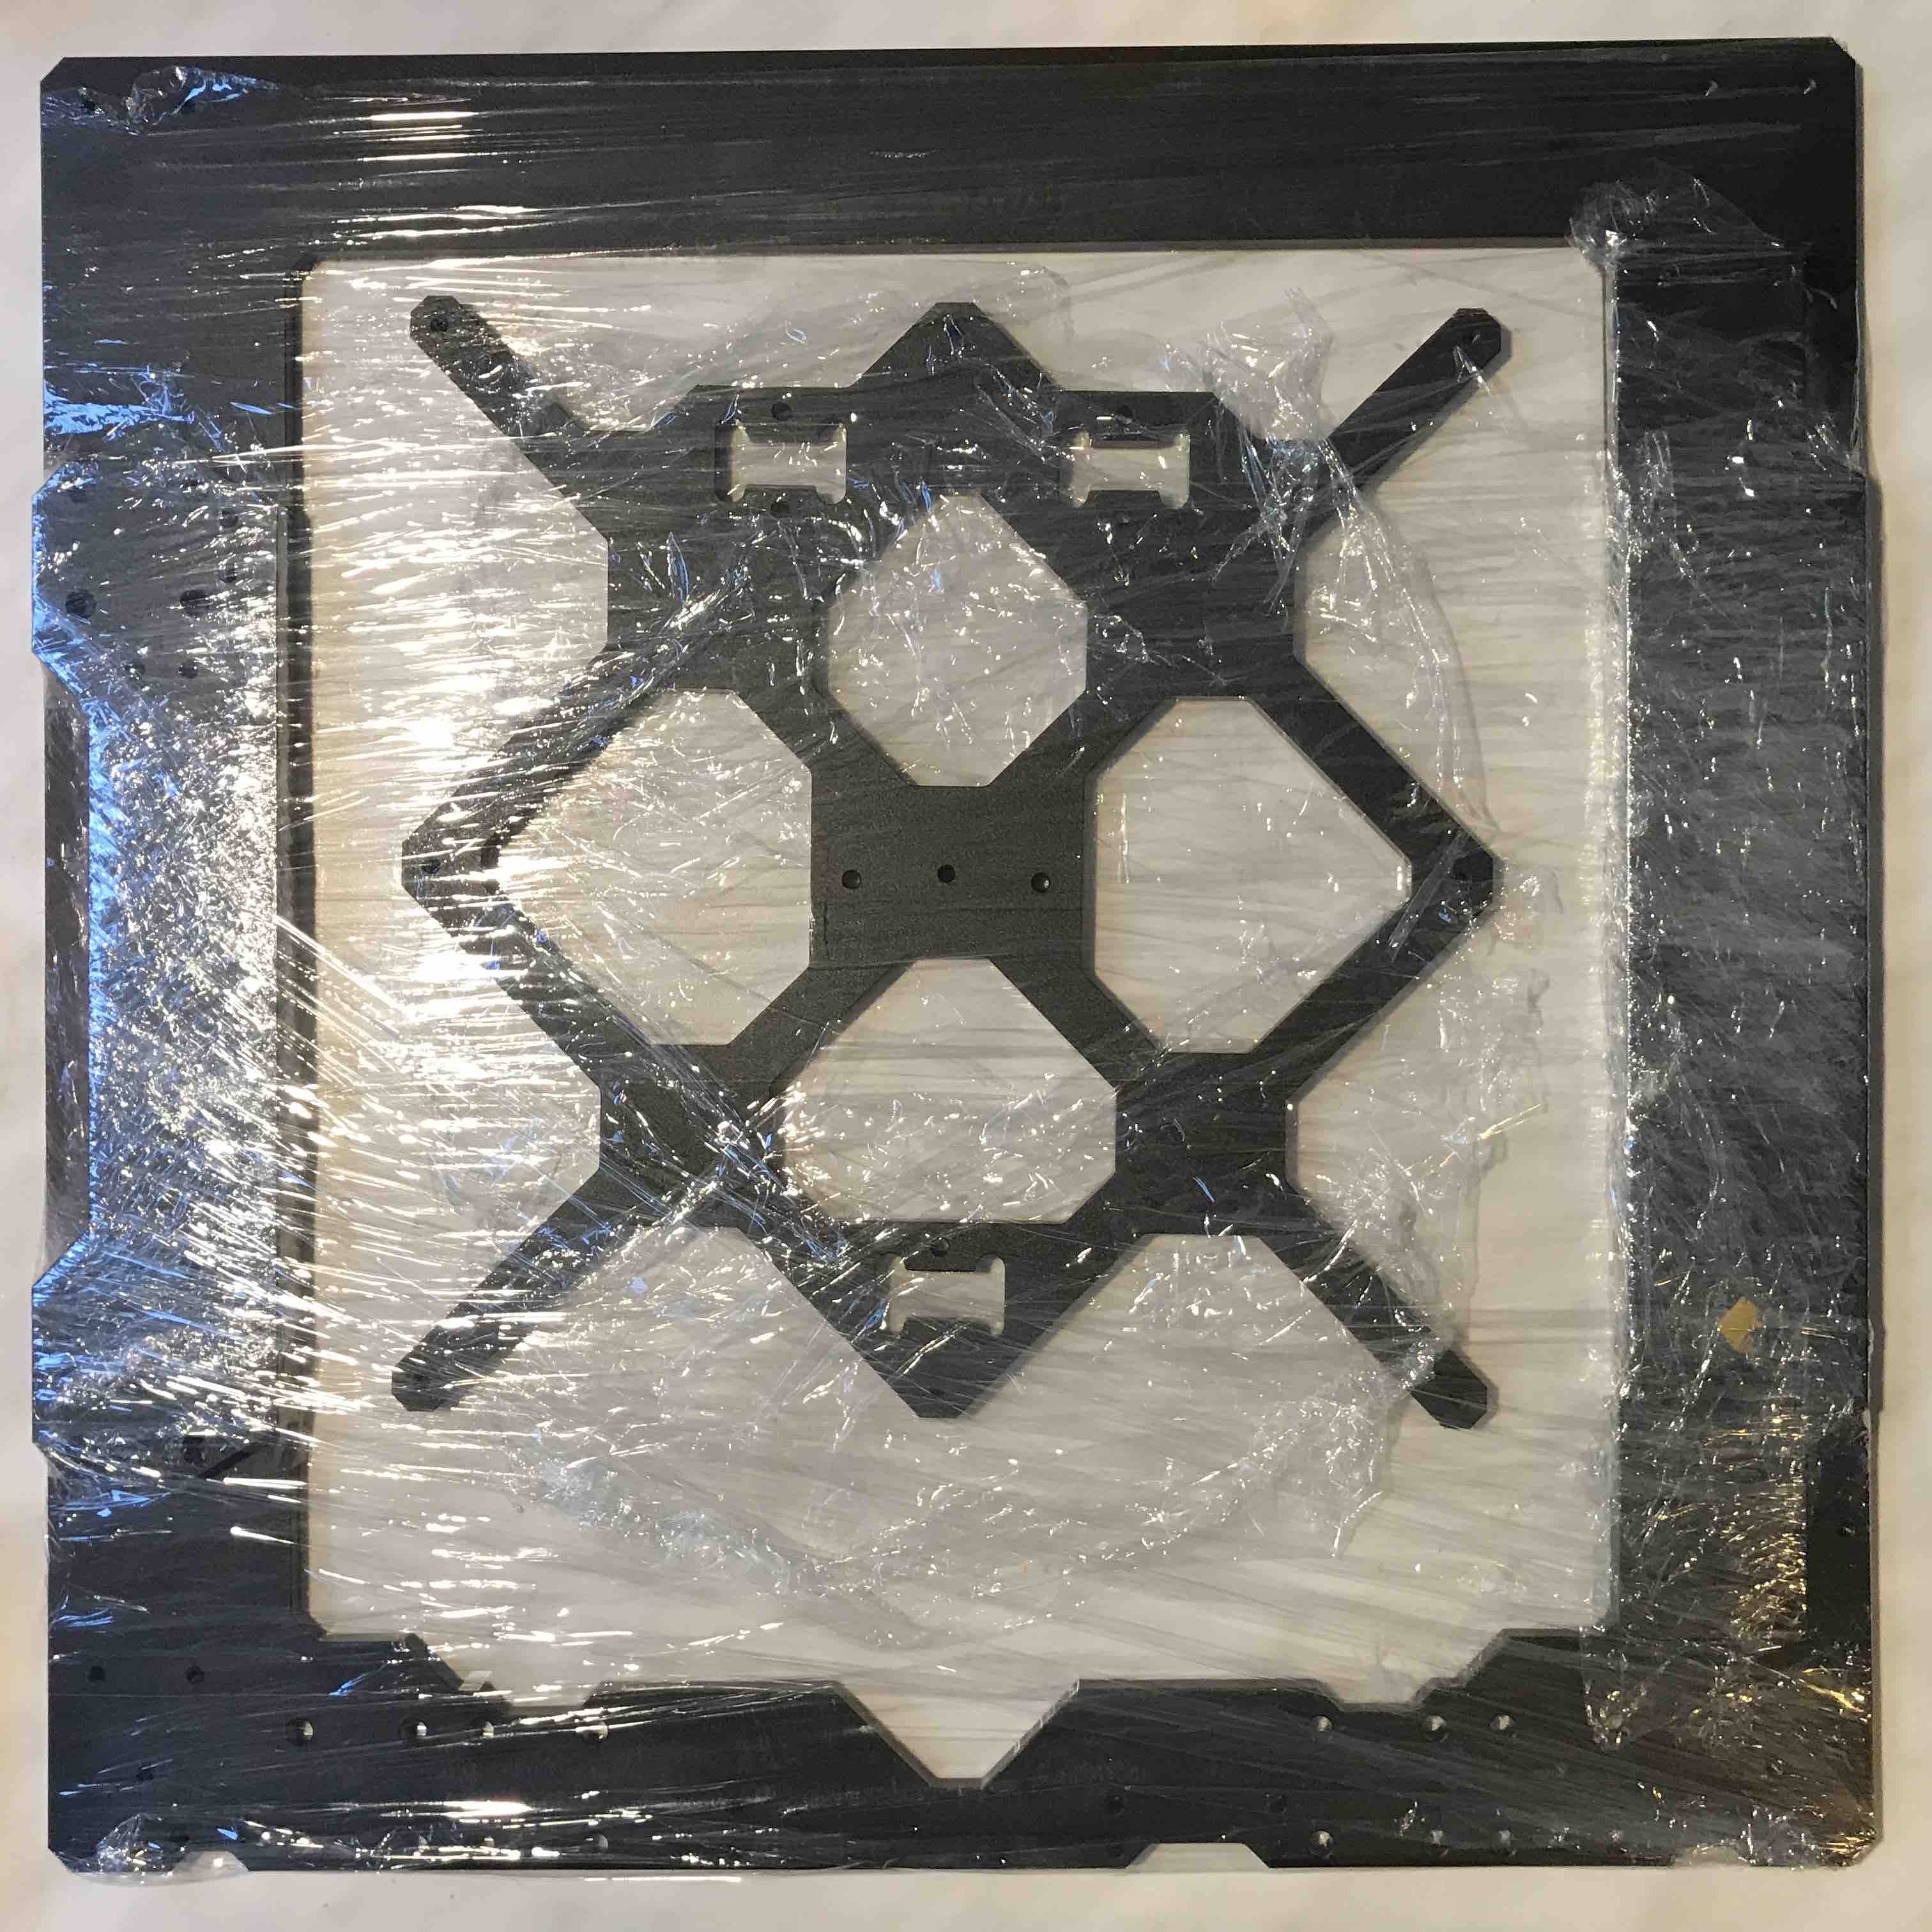
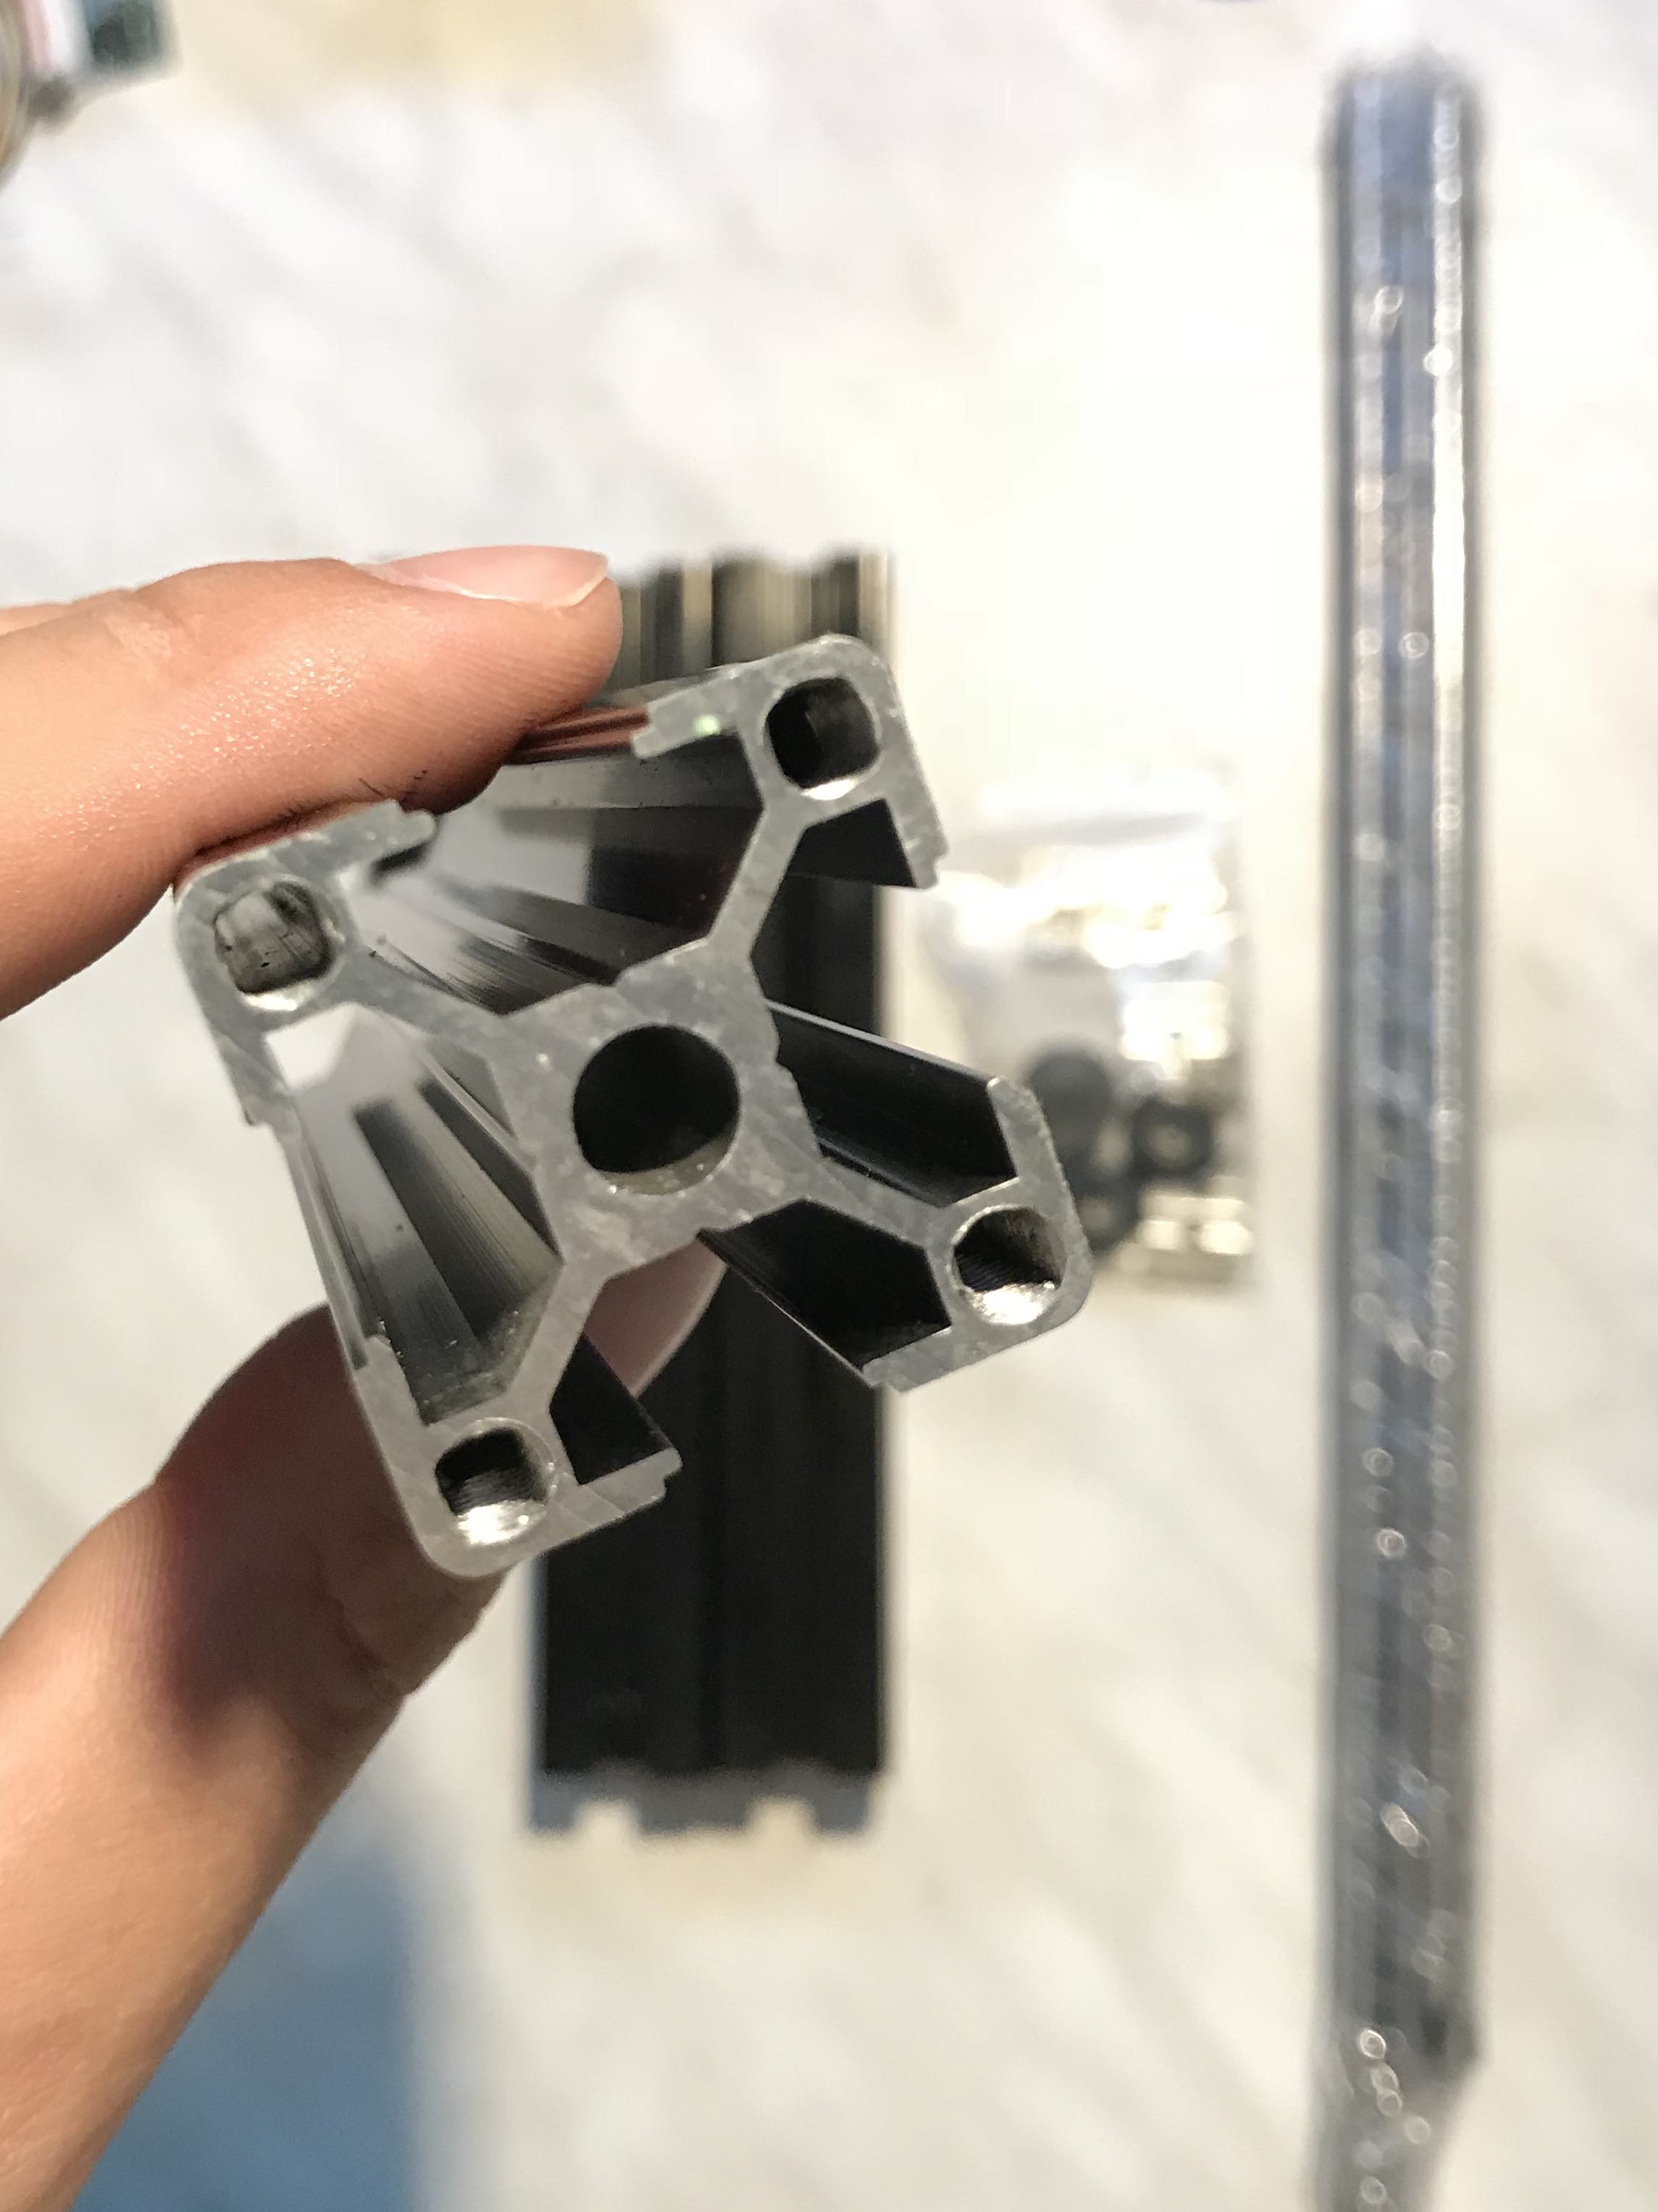
You can nowadays get a “Prusa MK3 frame kit” that includes center, front and back aluminium plates, a Y-carriage (more on that later), 8mm steel rods and even aluminium extrusions (in black color) with threads already cut into them as one, single set!
This was basically exactly what I still needed, so I got it and ~100€ seemed like a good price.
We’re still under 300€ and there’s almost nothing left to buy, so price-wise the project is already a success in my honest opinion.
Back to the frame:
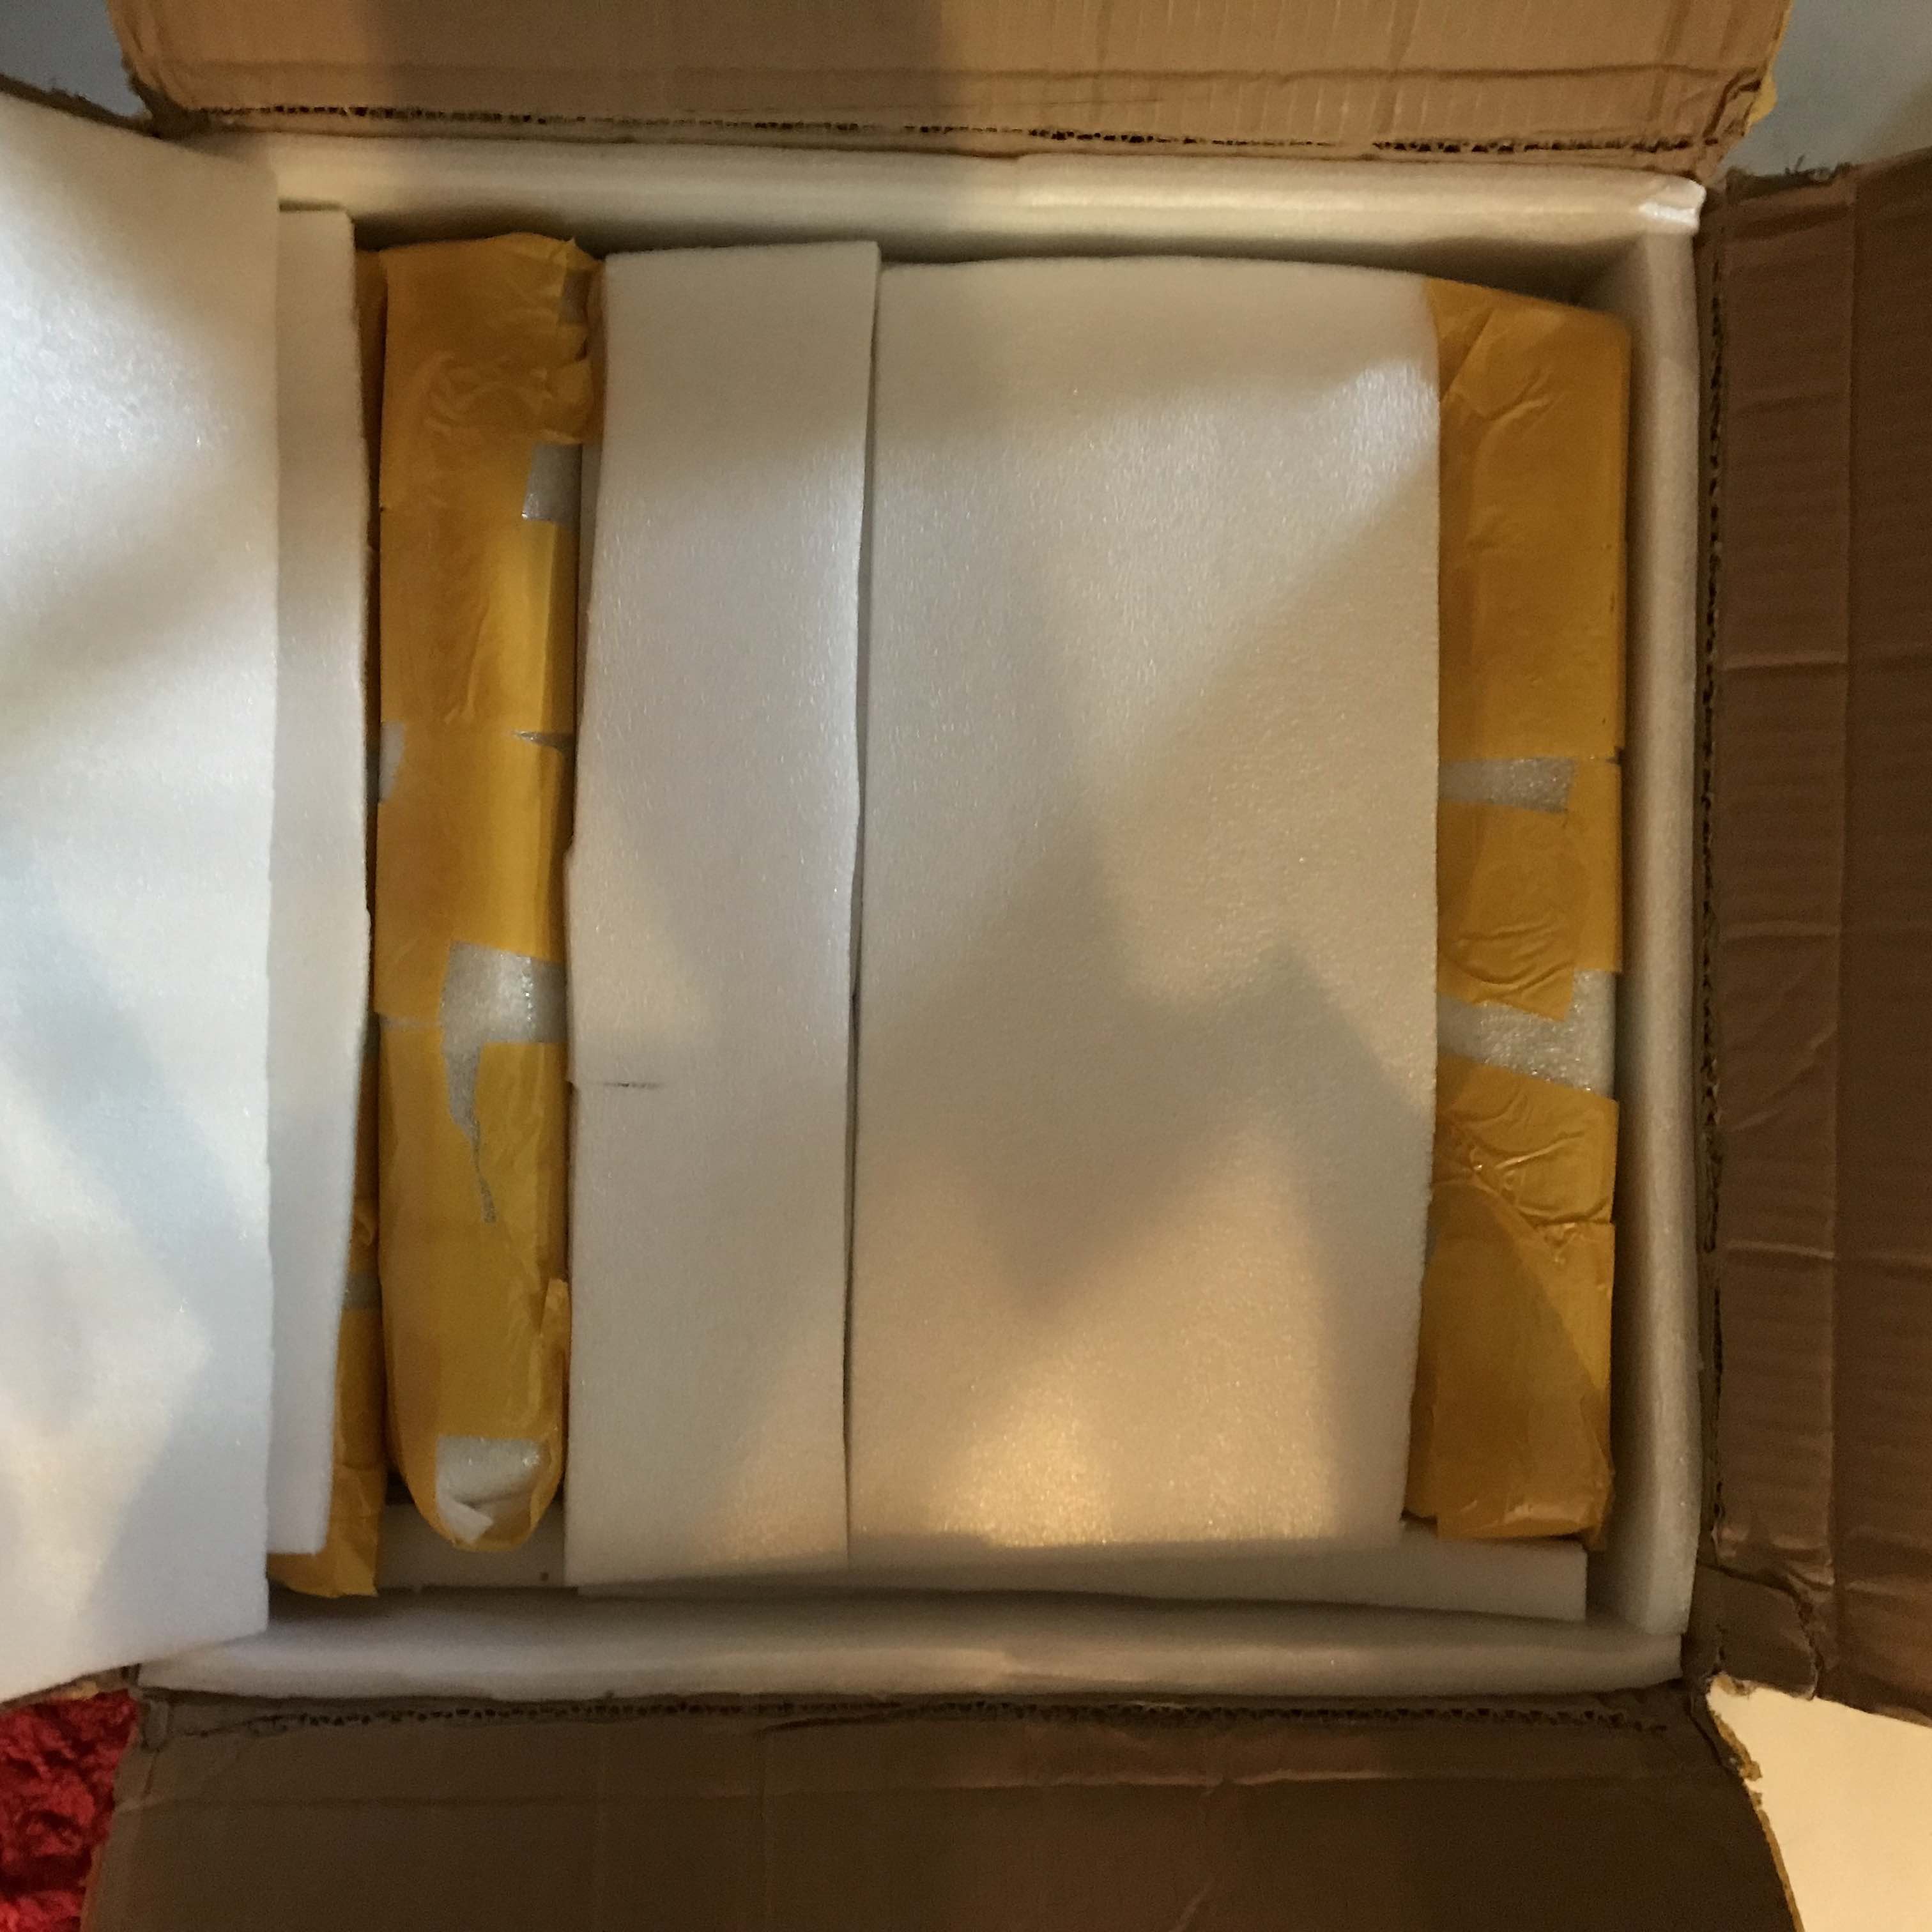
The specific seller that I chose by default used DHL as the shipping service which meant that instead of Ali’s typical 40-50 day delivery times (4-6 full weeks), it arrived in just over a week!
Everything was well packaged, as you can see in these images.
 |
 |
 |
|---|---|---|
Frame assembly
I assembled the frame just as described in the Prusa manual which wasn’t very difficult at all, except the tapped screw holes in the extrusions that weren’t perfectly clean, but screwing a screw in and out a few times for each corner eliminated this imperfection.
Another little observation is that the frame did not sit perfectly straight on the first try: one foot was always around a mm in the air. The funny thing about this is that reading the comments in the manual, it seems like a lot of people had this exact same millimeter “lift” on the exact same corner, so it might actually be that the holes in the CAD file of the frame aren’t perfectly aligned or so. Especially since it’s always the same side. Anyhow, by turning the extrusions and trying them in different orientations I think I could minimize this inconsistency a bit and then after adding the feet, the printer now sits perfectly straight on the table without any wobble.
I’m happy with the purchase and would recommend this frame kit, however I think that on the original the main plate is 8mm while here it’s only a little bit more than 6mm. If this affects the print quality, I will post a follow-up and try to stiffen the frame somehow.
I liked that the screw holes in the laser-cut plates were already tapped, just like in the original Prusa!
Extruder plan
As I was browsing AliExpress for the frame, I found out something exciting and frustrating at the same time:
After putting quite a few hours of work into a modified MK2 / MK3 extruder (more on this in the next post) because of the lack of cloned Bondtech gears, it seems that now, a few months after I started this project, they are available for around 10 bucks!
The plan is to get the machine running as soon as possible which means using the current setup.
Then, I’ll print (either with the MK3 or my old Anet) the original extruder carriage and swap to that.
Hint: They go via the name “Btech” as the real name is most probably trademarked.
Y-Carriage
The idea for the Y-carriage is to wait until the frame arrives and then checking if the MK42 (old) heatbed fits onto the MK52 (new / Prusa i3 MK3) carriage that I have.
If not, I’ll try to design some “adapters” for the corners (should be an easy, quick afternoon task) and / or buy a new carriage for the long term.