
Tasmota on LED light bulb & HomeKit integration
How I installed Tasmota onto a cheap LED light bulb and integrated it into HomeKit
How I installed Tasmota onto a cheap LED light bulb and integrated it into HomeKit
My first hands-on impressions of the BitBox02 Hardware wallet from Shift Cryptosecurity
This tip helped me a lot for distinguishing if a click was done on a UITableView cell or on the table view’s header.
A quick little tip on how to save the Git GPG password to OS X / macOS keychain if you are not using GPGSuite but instead have installed gpg CLI-only (e.g. through Homebrew)
What is a Masterspool? How does it work? Would I recommend it? Find out!
Today I only have a small update regarding my most probably final Z-probing setup, while tomorrow I’ll release my review of the “Masterspool”!
A nice little afternoon project that helps you monitor your prints!
Today I will explain my last few steps that were needed to get the printer up and running / printing. We'll also discuss the first issues and their solutions as well as the various different To-Do's that are left.
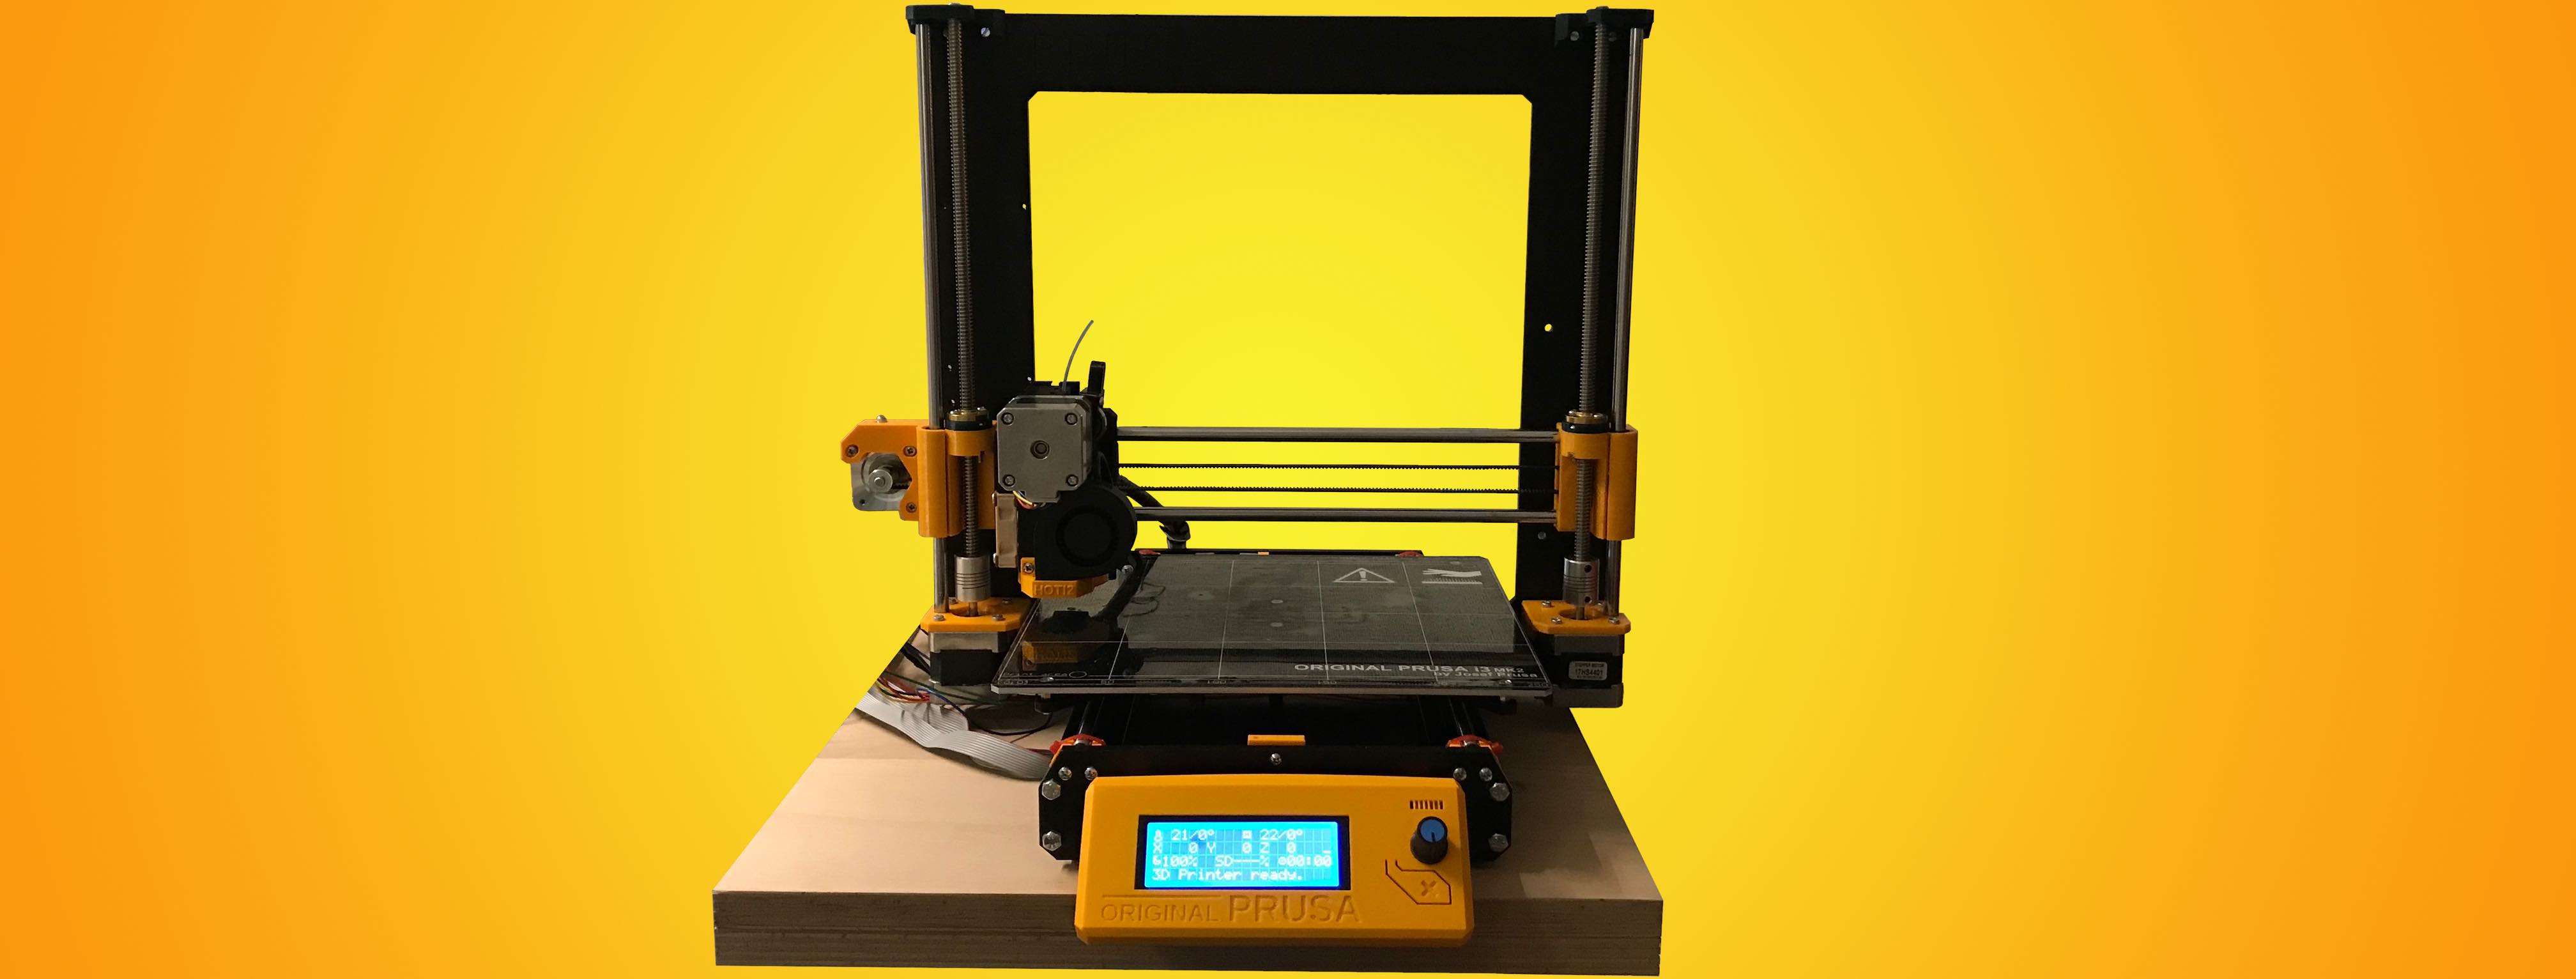 Photo Credit: Davide Toldo
How I created a simple circuit that allows me to toggle the hotend fan which is not supported by the RAMPS board by default.
The MK3 Y-carriage unfortunately doesn't fit the "old" MK42 heatbed, so I had to get the right one and then I could assemble the heatbed as well as mounting it to the printer.
Multiple parts had to be custom-designed because of the modified extruder that I chose to use and because of bad-documented components regarding size etc. that were difficult to buy online.
How to program an ESP-01 and communicate with a "ESP8266 WiFi 5V 1 Channel Relay"
The plan for how to approach the frame build and about the extruder choice changed once again.
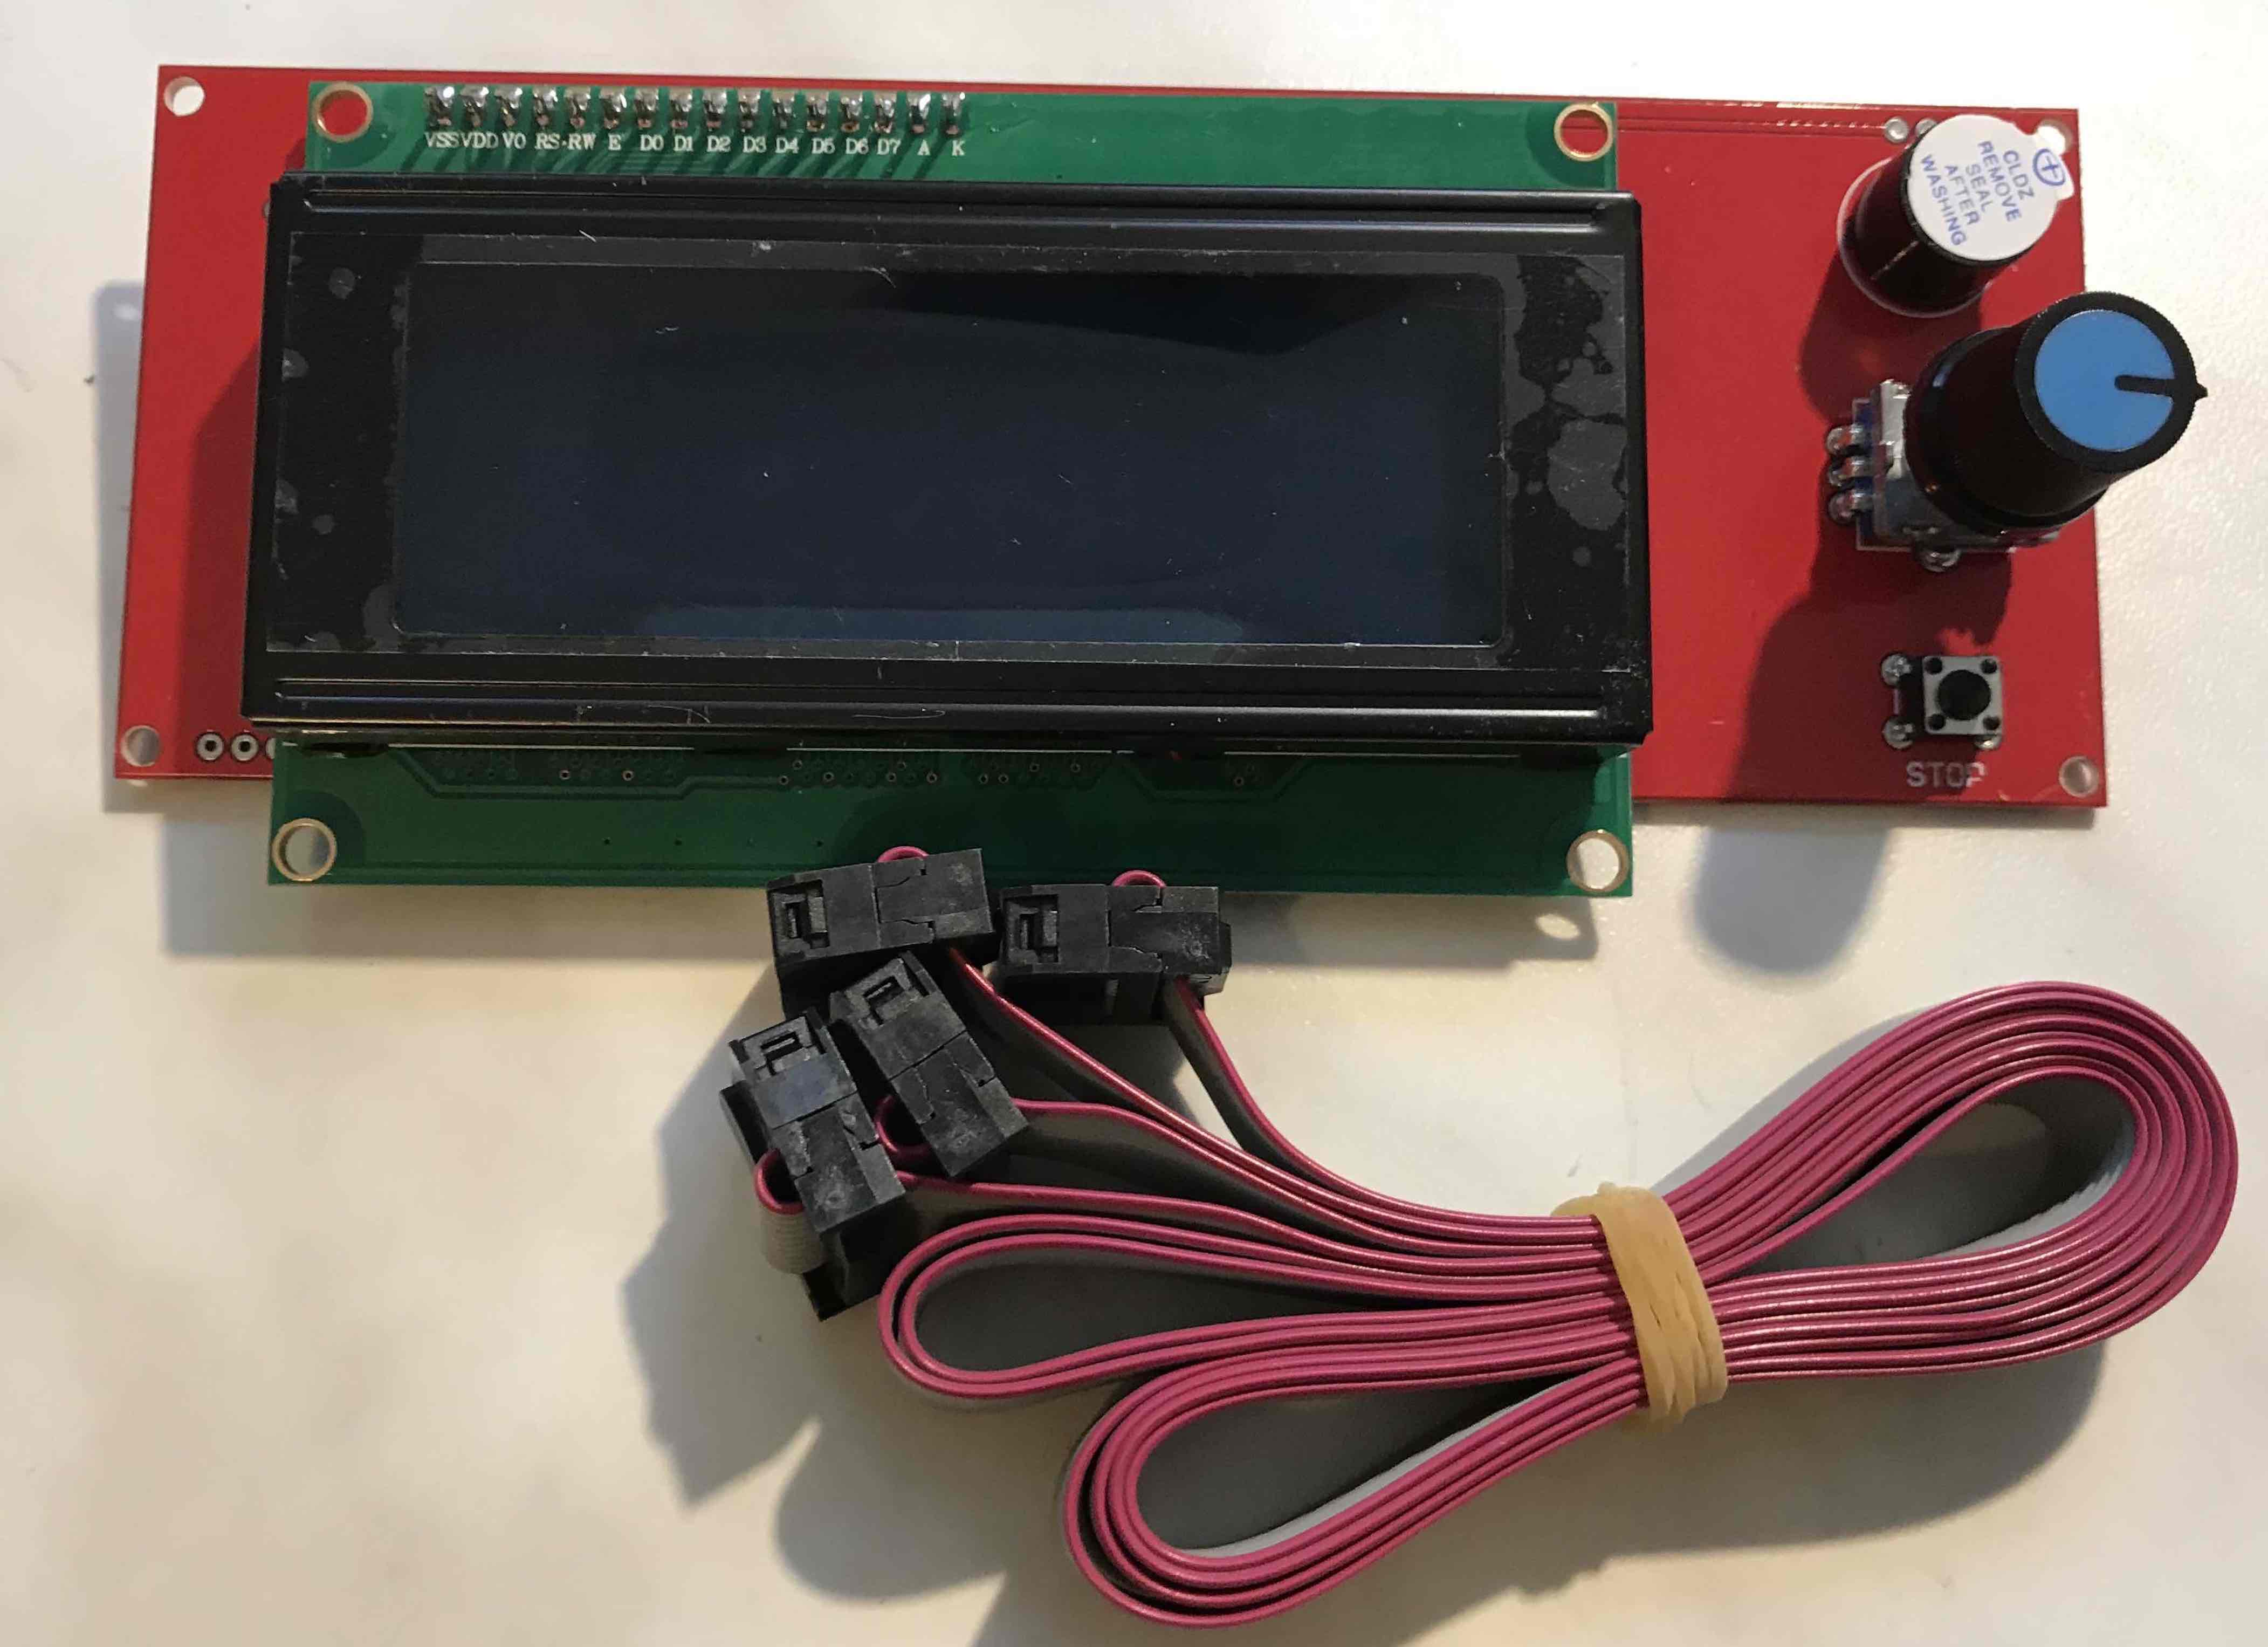
Creation of the wiring harness and RAMPS mod for LCD + TMC2130
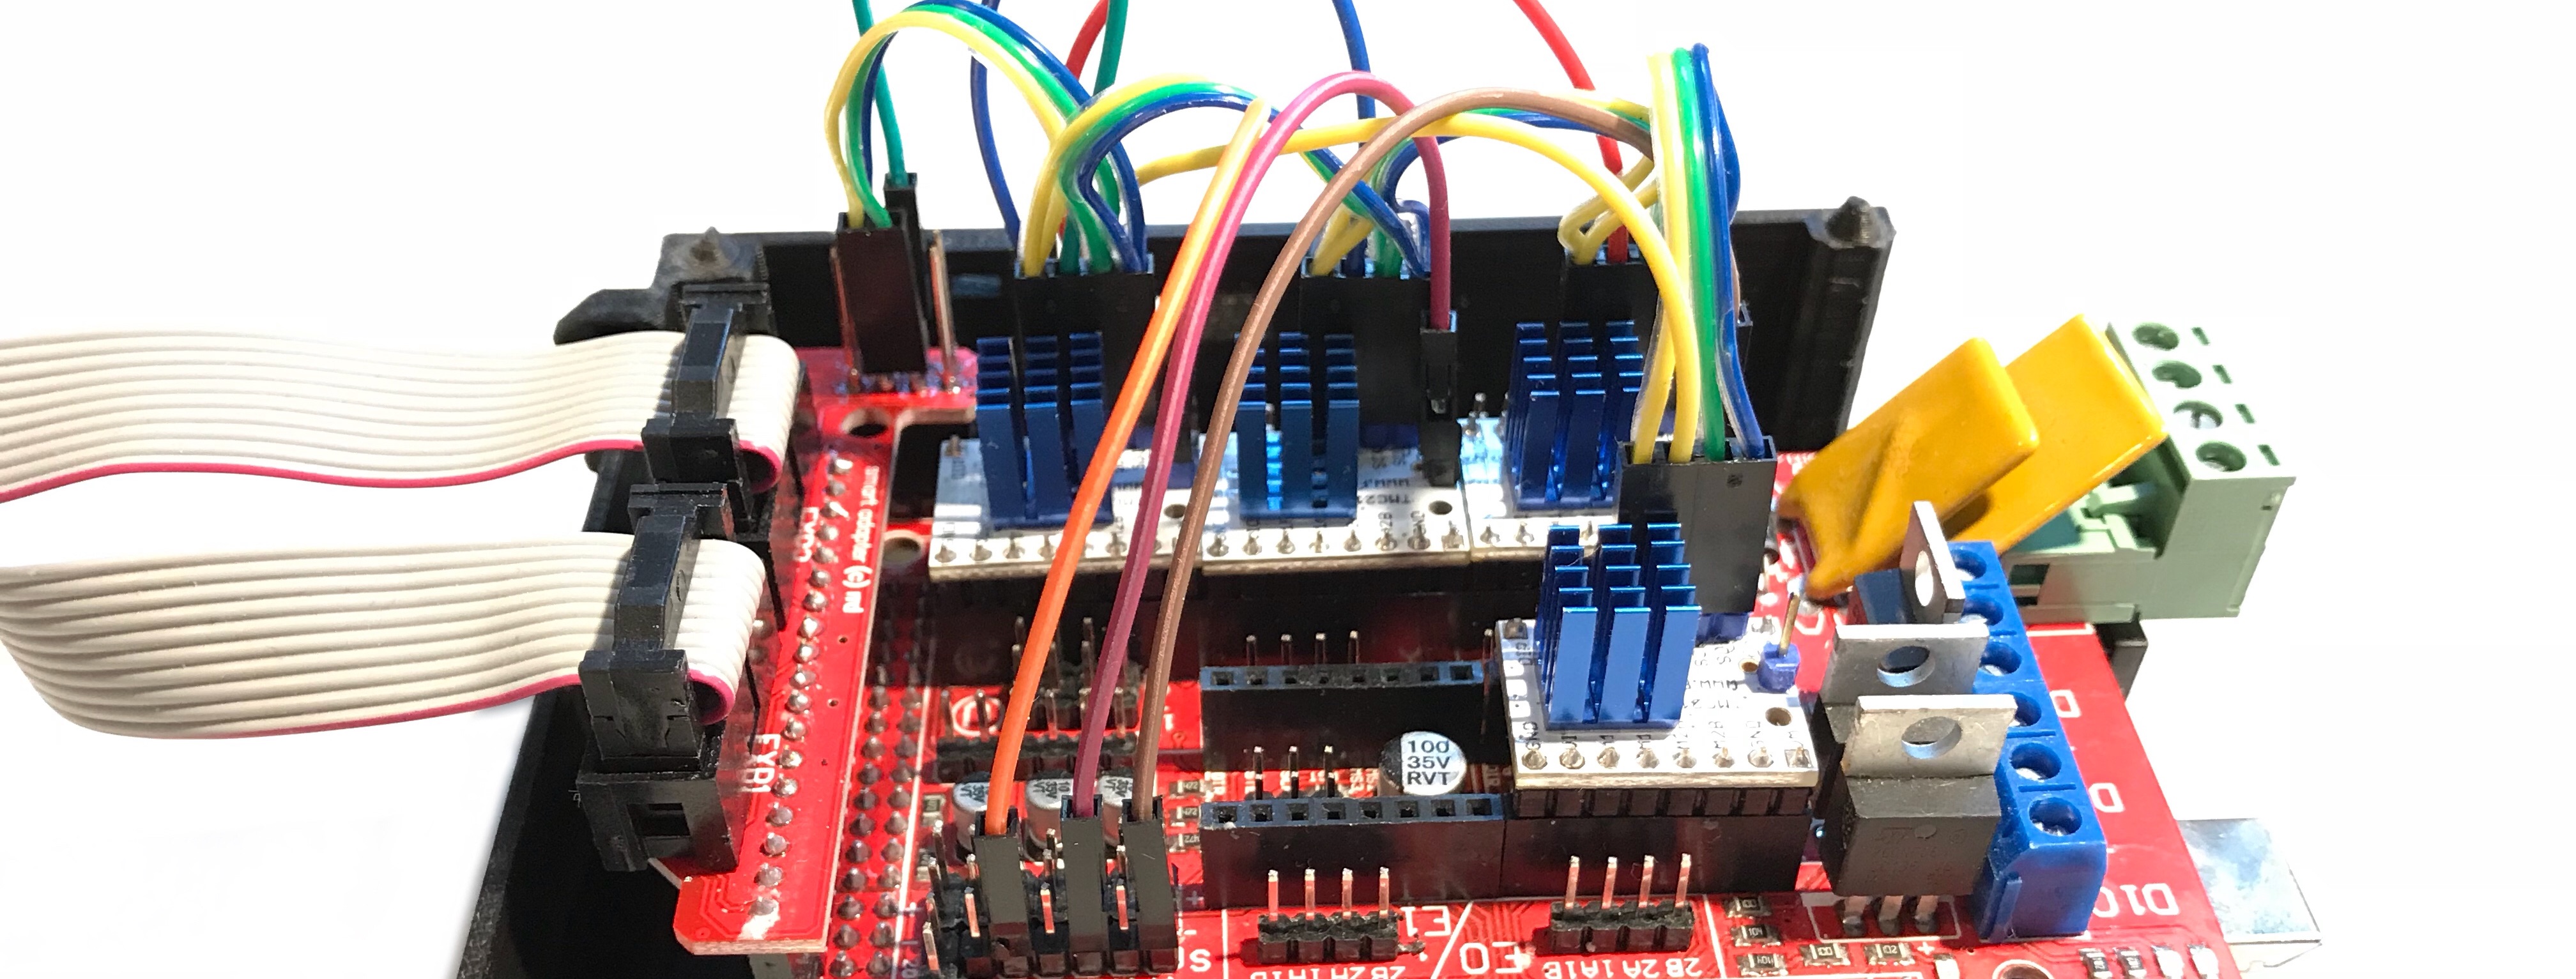 Photo Credit: Davide Toldo
Modification, installation, configuration and testing of the TMC2130 stepper drivers.
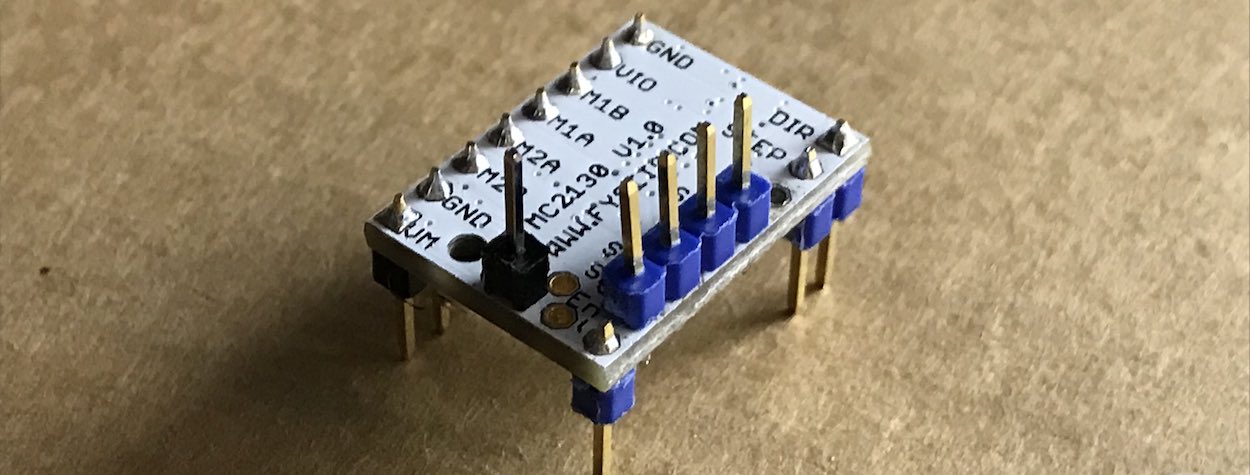 Photo Credit: Davide Toldo
Shipping of LCD adapter, MK42 heatbed and more
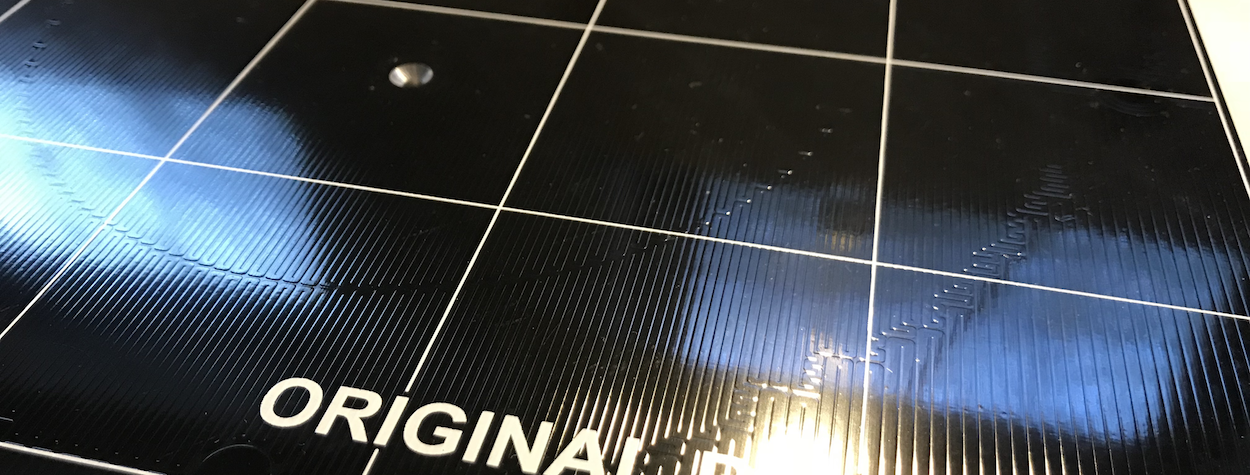 Photo Credit: Davide Toldo
This is the first Banggood shipment to arrive and it included the LCD with rotary encoder and SD-Card reader as well as a so-called “MK3-heated bed” (more on that later!!), the belts and pulleys for X- and Y-Axis and a 3-pack of silicone E3D-nozzle covers.
 |
 |
|---|---|
Today's plan was to spend only a few minutes on this project to assemble the MK2.3 extruder that I had talked about in the last post. It turned out not to be as trivial, because one of the printed parts did not fit.. We're going to design, print and repeat until everything fits as it should!
My extruder / hotend choice and why I chose it
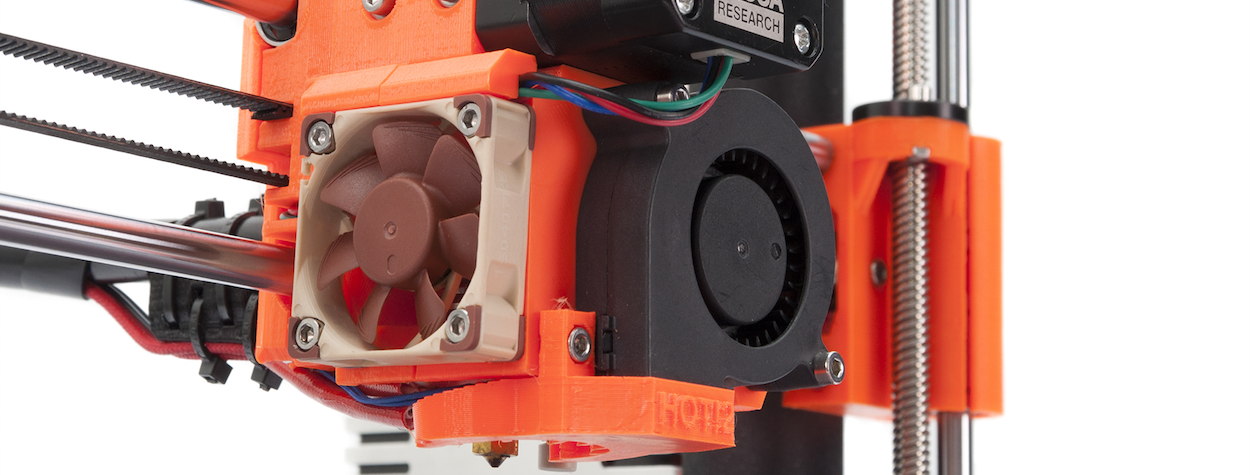 Photo Credit: Prusa Research
Process of printing all of the required parts
 Photo Credit: Davide Toldo
What to buy? What to build? What to print?
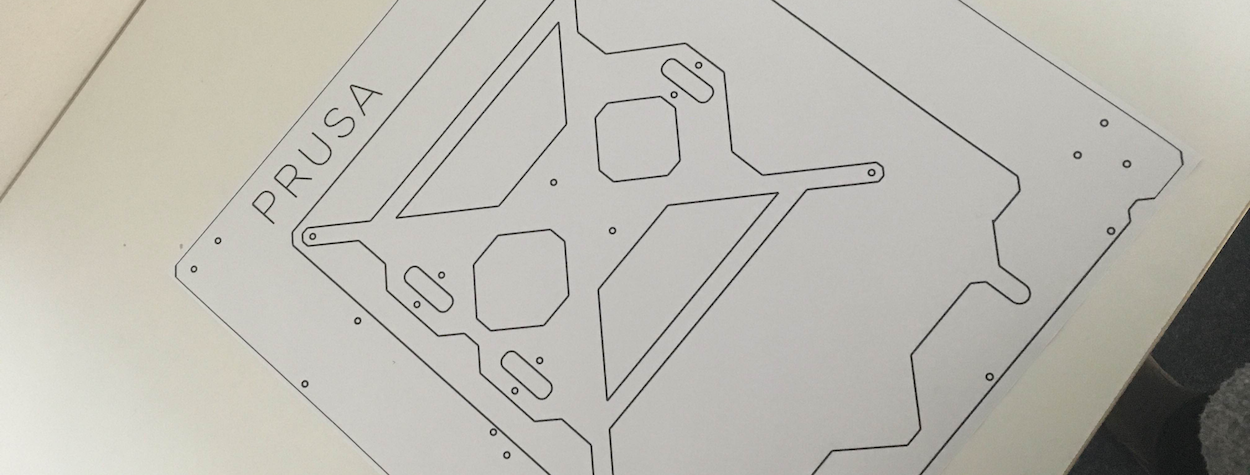 Photo Credit: Davide Toldo
I am building a Prusa i3 MK3 “clone”, out of parts bought from different sellers and stores, basically as cheap as possible while still being as close to the “real deal” as possible. I try not to spend money on stuff that is not essential to the benefits of the MK3.
Because the MK3 is an awesome machine that I really like, but for me it is too expensive. Also, I always like a challenge and this right here is surely more difficult than just buying a kit and assembling it in an afternoon. This documentation of the project should not only show you the progress, but might hopefully help someone get his own MK3 if he is on a budget and ready to tinker a bit!